
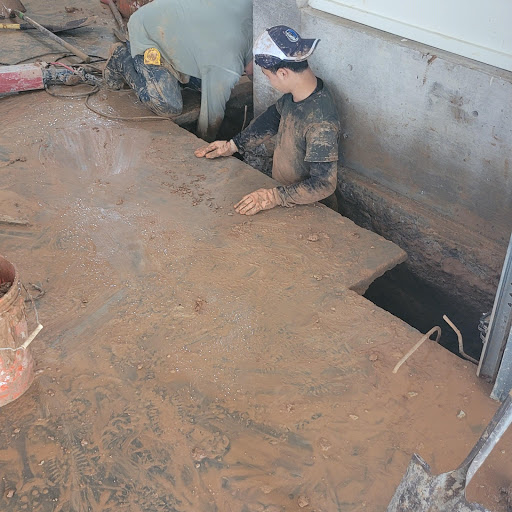
Basement water issues are a common concern for homeowners, often leading to structural damage and unhealthy living conditions due to mold and mildew growth. One effective solution to mitigate these problems is the installation of a French drain system. This method not only helps in redirecting water away from your basement but also ensures the longevity and integrity of your home’s foundation. Understanding the essential steps involved in the french drain installation in basement can aid homeowners in either undertaking the project themselves or supervising a professional installation.
Planning the French Drain System
The key to a successful French drain installation starts with meticulous planning. This phase involves:
- Assessing the Water Problem: Identify the exact source of water intrusion in the basement. This could be due to poor grading, foundation cracks, or excessive rain.
- Determining the Drain Path: Map out the path of the drain system. The objective is to channel water away from the basement efficiently.
- Gathering Necessary Permits: Check local building codes and acquire any necessary permits before beginning the installation.
- Choosing Materials: Select high-quality materials such as perforated pipes, gravel, and landscape fabric to ensure durability.
Excavation and Preparation
Once the planning is complete, the next step is to prepare the site for installation. This involves:
Excavating the Trench
- Marking the Trench Path: Use stakes and string to mark the path for the trench, ensuring it slopes away from the house.
- Digging the Trench: Excavate a trench approximately 12 inches wide and 18 to 24 inches deep along the marked path.
Preparing for Installation
- Layering Gravel: Add a few inches of gravel to the bottom of the trench to promote drainage and stabilize the pipe.
- Lining with Fabric: Place a layer of landscape fabric over the gravel to prevent soil from clogging the system.
Installing the French Drain
With the trench prepared, the actual installation of the French drain can begin. This involves:
- Positioning the Pipe: Lay the perforated pipe on top of the gravel, ensuring the perforations face downward. This allows water to enter from below.
- Connecting the System: If the system requires multiple pipes, connect them securely using fittings to prevent leaks.
- Covering with Gravel: Add more gravel over the pipe until it is completely covered, which helps in filtering the water.
- Wrapping with Fabric: Fold the landscape fabric over the gravel to keep debris out.
Finishing Touches
After the system is installed, the final steps ensure the effectiveness and aesthetics of the project:
- Backfilling the Trench: Cover the fabric with soil, compacting it to match the surrounding terrain.
- Testing the System: Pour water into the system to ensure it is redirecting water away from the basement as intended.
- Landscaping: Consider planting grass or other vegetation to restore the area and support soil erosion prevention.
Maintenance Tips
Maintaining a French drain system is crucial to its long-term performance:
- Regular Inspections: Check the drain system periodically for signs of clogs or damage.
- Cleaning: Flush the system occasionally to clear any sediment buildup that could impede water flow.
- Monitor Vegetation: Ensure that plant roots are not encroaching on the drain system, which could cause blockages.
Understanding the essential steps for installing a French drain system in a basement can significantly improve a home’s resilience to water damage. By following these guidelines, homeowners can effectively safeguard their living spaces from the perils of water intrusion.
